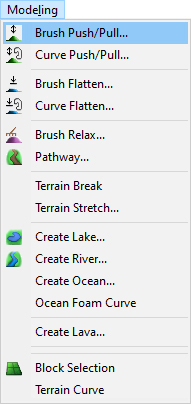
To modify terrain height by brush tool, use Brush Push/Pull command
You have following possibilities to launch Brush Push/Pull command:
- From Modeling drop down menu select Brush Push/Pull
- Using icon from the toolbar


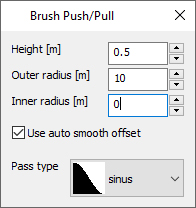
When Brush Push/Pull command is launched the Brush Push/Pull dialog is opened where you can set brush properties.

Height – set the relative height value by which will be the terrain pulled (in case of positive height value) or pushed (negative height value).
Inner radius – set inner radius of brush. The terrain inside the inner radius will be pushed /pulled by the full height value.
Outer radius – this value should be greater than inner radius. Terrain between inner and outer radius represents a pass area. Inside the pass area the terrain is still affected by the brush tool, but its height changes by 100% (at inner radius) to 0% (at outer radius) of height value.
Use auto smooth offset – check the checkbox if inner and outer radius values create an appropriate (large enough) pass area.
Pass type – from the drop-down list select sinus or linear pass between unchanged and modified terrain.
Note:
In case of an inconvenient value written in one of radius or height fields, the value turns to red and should be changed.
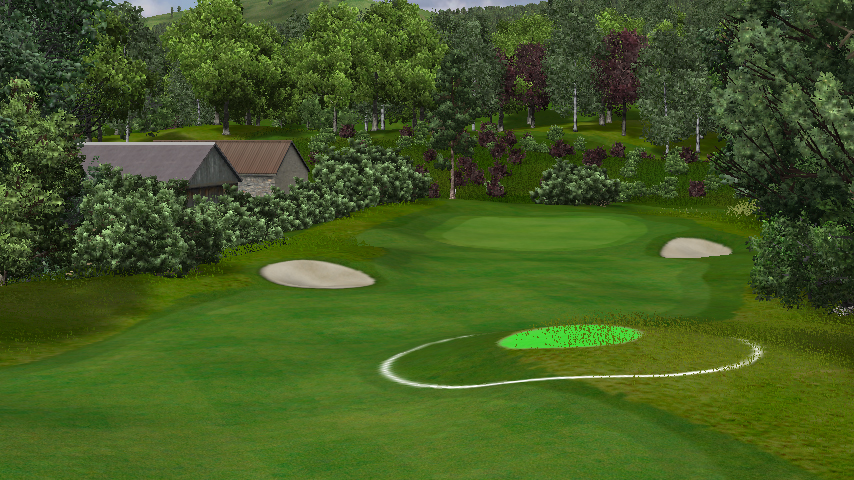
Move cursor in terrain and click the left mouse button to create a single hill (in case of pull), or hole (push) or hold left mouse button depressed and drag cursor across the terrain to create a contiguous mound / valley.
To finish the Brush Push/Pull command press Enter or Esc key.
The Undo command only works after finish of Brush dialog.

Hint:
Hold down the Ctrl key while clicking to temporary switch pull to push and vice versa.
