To create a river in terrain, use Create River command.
You have following possibilities to launch Create River command:
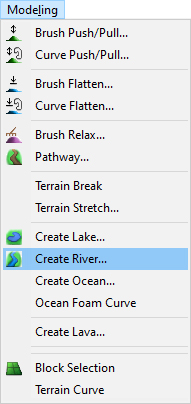
- From Modeling drop down menu select Create River
- Using icon from the toolbar

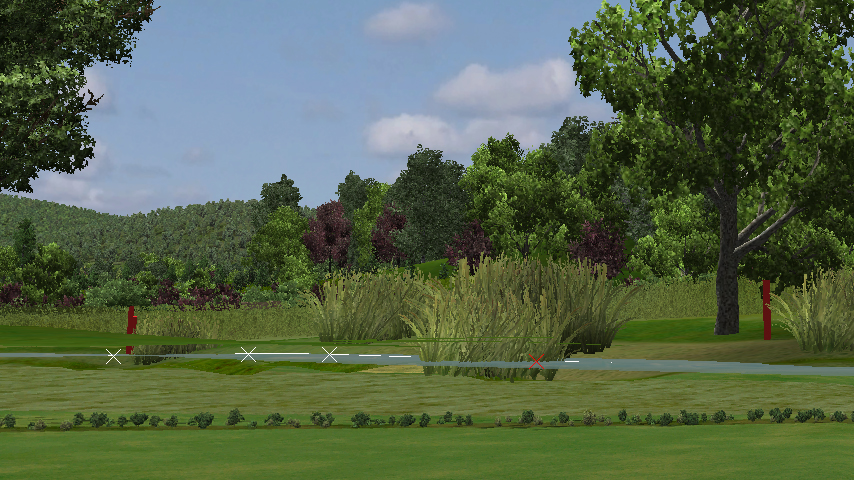
When Create River command is launched move cursor in terrain and pick some points to create a stream line curve.
Hint:
It is recommended to use top view while creating the curve to easily gain the desired shape of the curve and point positions.
Hint:
Use right mouse click context menu to edit the curve during creation.
Note:
Make sure that item Water Surfaces in Visibility Filter is on to see water tables in top or side view.
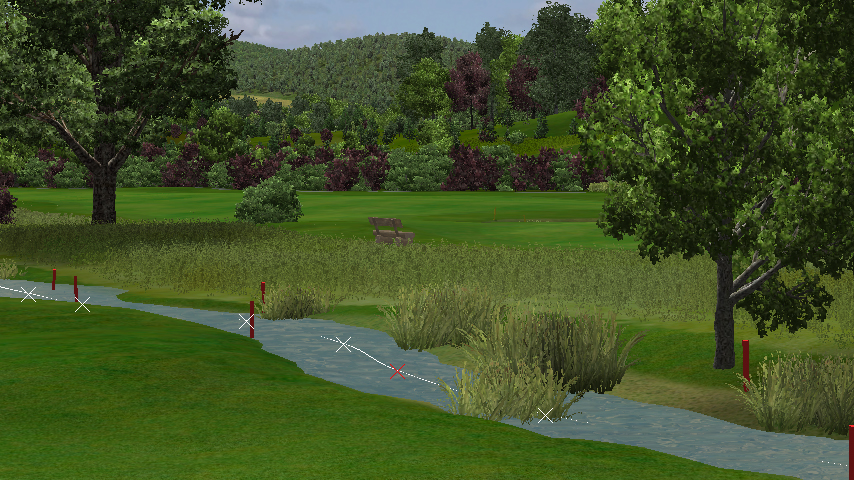
To finish creating the curve choose Finish from right mouse click context menu or press Enter.
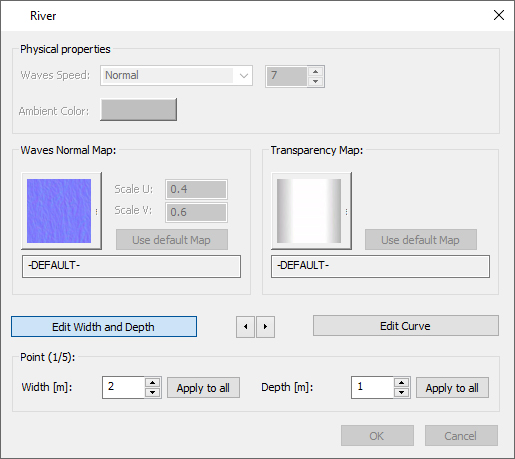
When you finished the creation of curve the River dialog is opened where you can set the river water properties.
Waves Speed – from drop down list select the appropriate option. Custom, Fast, Normal, Slow, Very fast, Very slow.
Hint:
Use the option Custom to set a custom speed value. Write the value in editable box, enabled for the option at the right side.
Ambient Color – click the button to open color palette and choose the desired color of river water table.
Waves Normal Map – click the button and from the populated Library tree select the desired waves texture. Set appropriate values of waves Scale in U and V directions.
Transparency Map – click the button to change current alpha map. Alpha map defines by its black color transparency of the water surface. At the border is the flowing water stream more transparent to see bottom near to the bank.
Edit Width and Depth – click the button to modify shape of river stream curve. Use left and right arrows at right side to select previous / next curve point. It is also possible to use arrows at keyboard.
Width and Depth – change width and depth of the river at the selected curve point. Alternately use keys ‘ / ‘ or ‘ * ‘ to change width. Use keys ‘ + ‘ or ‘ – ‘ to change depth.
Apply to all – click the button to apply changes for all available curve point.
Finish editing by repeated clicking on the Edit Width and Depth toggle (to switch off) or press Enter or select Finish from the context menu.
Edit Curve – to modify location of points of stream line curve. Finish editing by repeated clicking on the Edit Curve toggle (to switch off) or press Enter or select Finish from the context menu.
To confirm and finish the Create River command click the OK button or press Enter.
To edit created river hover cursor over it so, that it gets highlighted and from the right mouse click context menu choose:
Edit River – to call River dialog and change river properties.
Object Height – to modify overall height of the entire river object.
Add Sound – to add a sound to the river object.
Note:
The sound of the water waves is usually (and as default) not added to the river object itself but to the water material curve. This ensures better uniform volume of sound around the whole water object.
Delete Object(s) – to remove the lake object from the map.
Note:
Make sure that item Water Surfaces in Selection Filter is on to allow selecting any river object.
It is good sometimes to rotate the side view so, that camera is under terrain to see height of individual points and fall of water while editing the depths of points: